


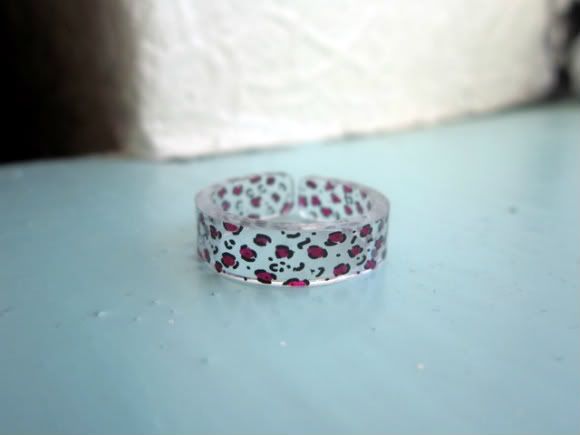
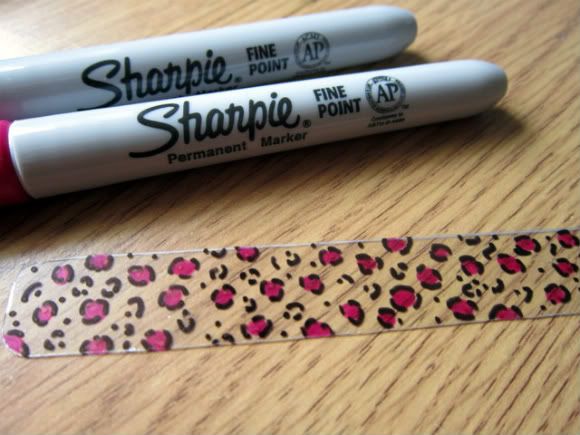
Here is the tutorial which I [mostly] followed. Instead of the stamping method I used sharpies to draw a leopard print design on my strip of plastic.
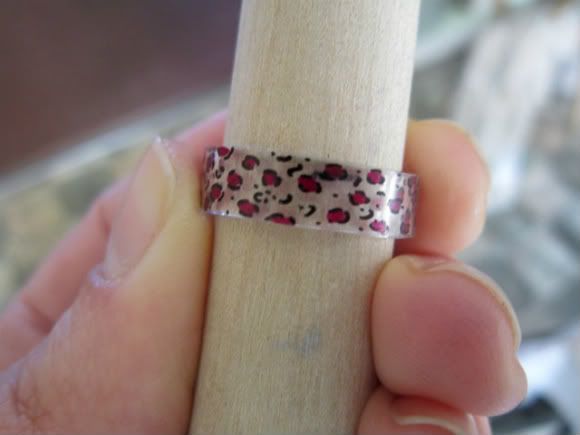
After 'baking' the plastic, I used my wooden ring mandrel, which I use to make my fine silver rings, for forming the ring. It was a bit tricky - you have to be very quick, as it doesn't take long for the plastic to go hard. But it's great because if it goes a bit wrong you can just put it back in the oven and try again!
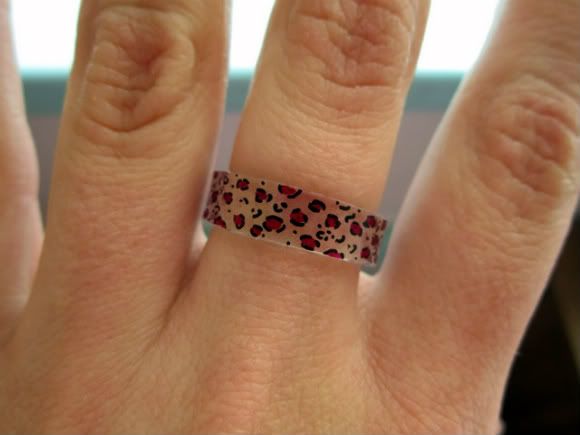
If you wanted to have a play with shrink art, I recommend getting your sheets from ebay. You can also find it in Hobbycraft. I got my sharpies cheap off ebay too. I think my love of shrink art jewellery has returned, I'm going to be making more of these rings now! I'm also thinking maybe matching earrings? :)
This is so amazing! Love the ring. I'd love to see earrings and how you do them.
ReplyDelete